- Ultra Mode: Designed for high-resolution needs, perfect for advertising and e-commerce where detail magnification is important. It accurately reflects prompts while maintaining generation speed.
- Raw Mode: Focuses on natural realism, optimizing skin tones, lighting, and landscape details. Reduces the “AI look” and is ideal for photography and realistic style creation.
What Flux 1.1 Pro Ultra Image is good at
- Ultra-high resolution: Generates images up to 4MP, 4x the standard version’s resolution
- Fast generation: Keeps single image generation time under 10 seconds, 2.5x faster than similar high-resolution models
- Prompt accuracy at scale: Ultra Mode reflects prompts accurately while maintaining generation speed, suited to advertising and e-commerce work
- Natural realism: Raw Mode optimizes skin tones, lighting, and landscape details to reduce the “AI look”
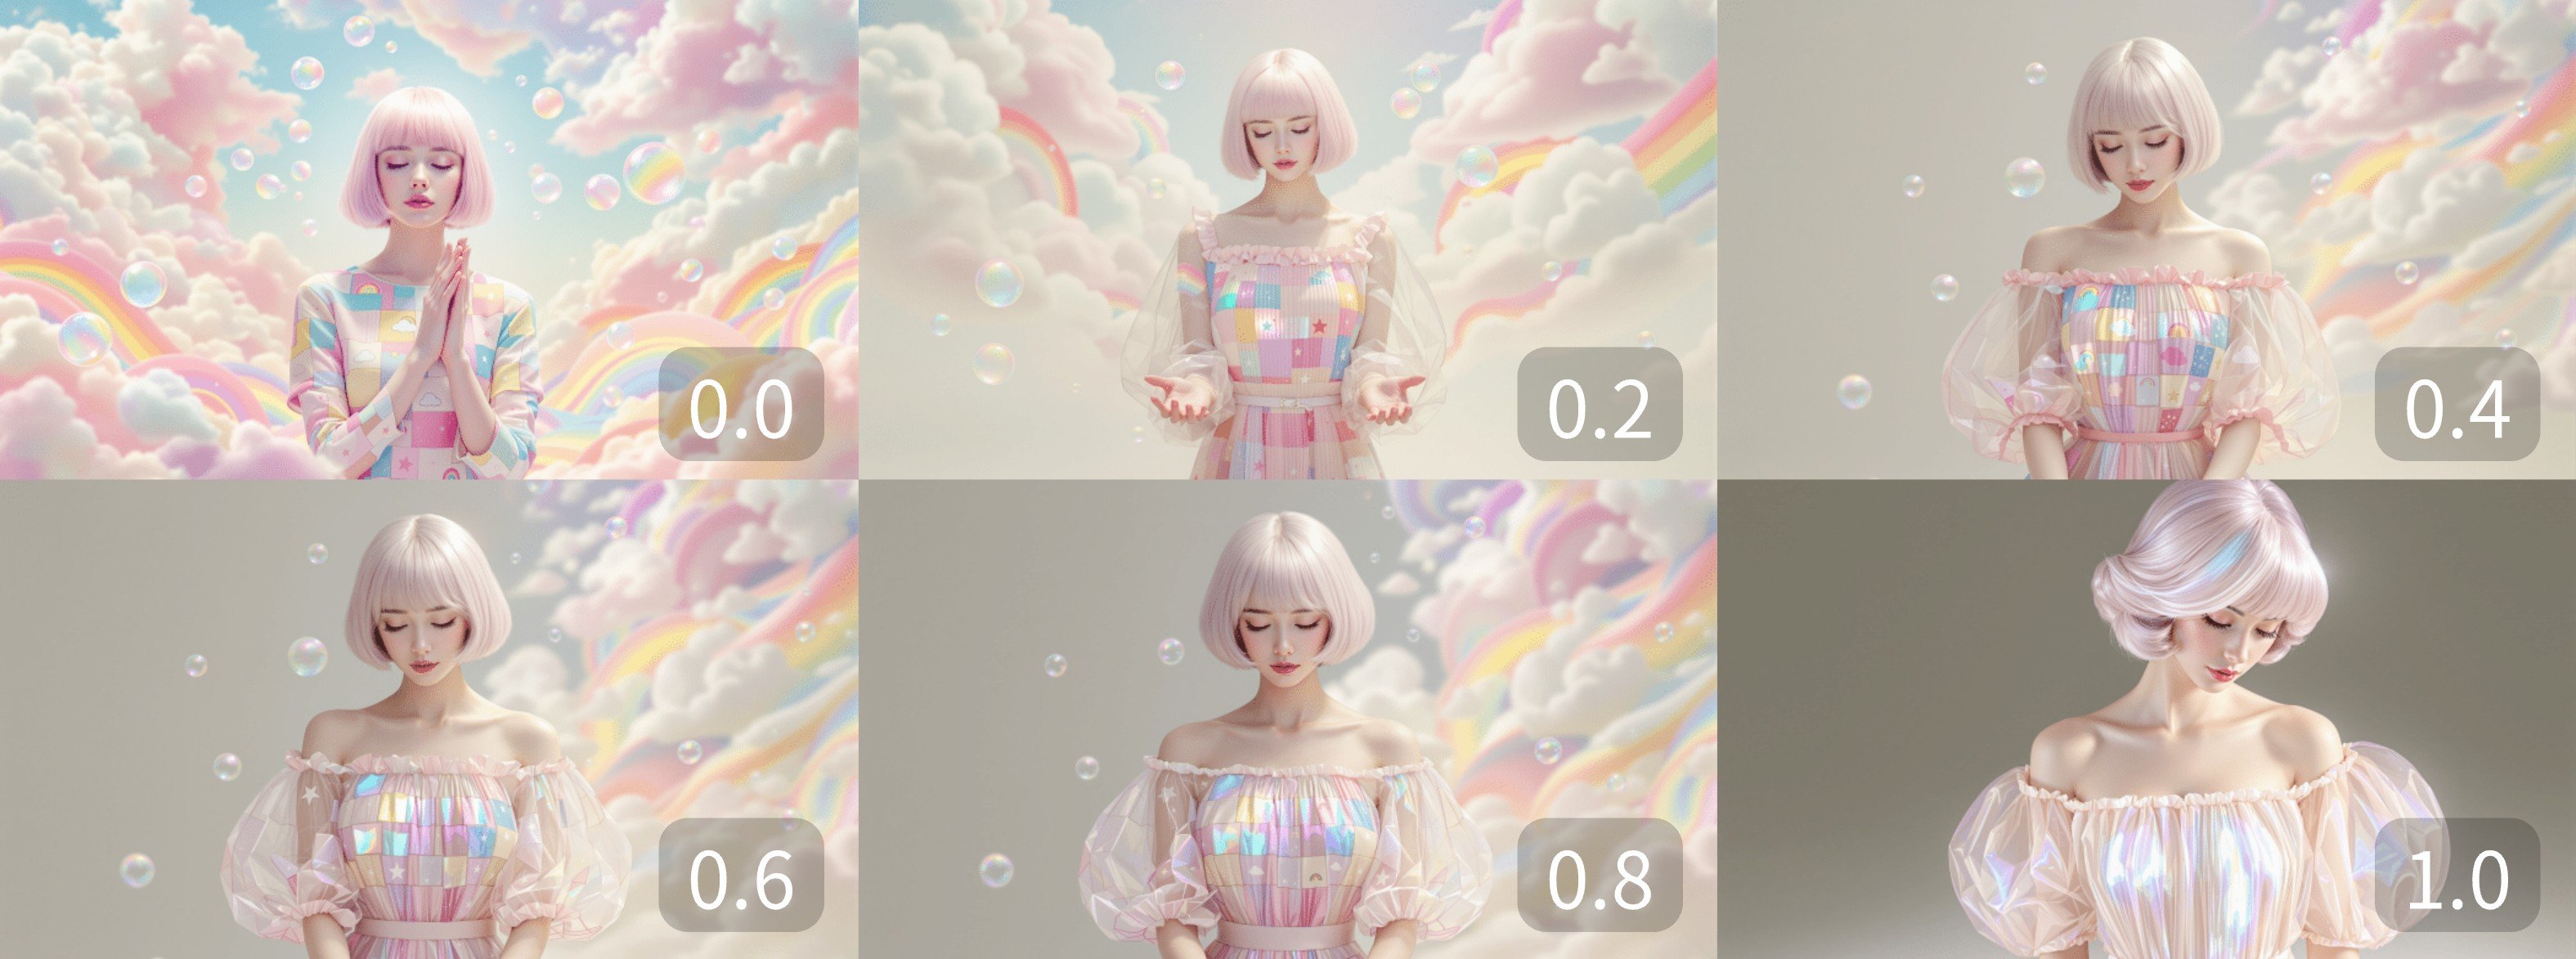
- Image-to-image remixing: An
image_promptinput blends features from an input image, withimage_prompt_strengthcontrolling the blend ratio
Example outputs
Text-to-image generation with the Flux 1.1 [pro] Ultra Image node: Image-to-image remixing, blending features from an input image into the output:

Flux 1.1 Pro Ultra Image Node Documentation
Check the following documentation for detailed node parameter settings: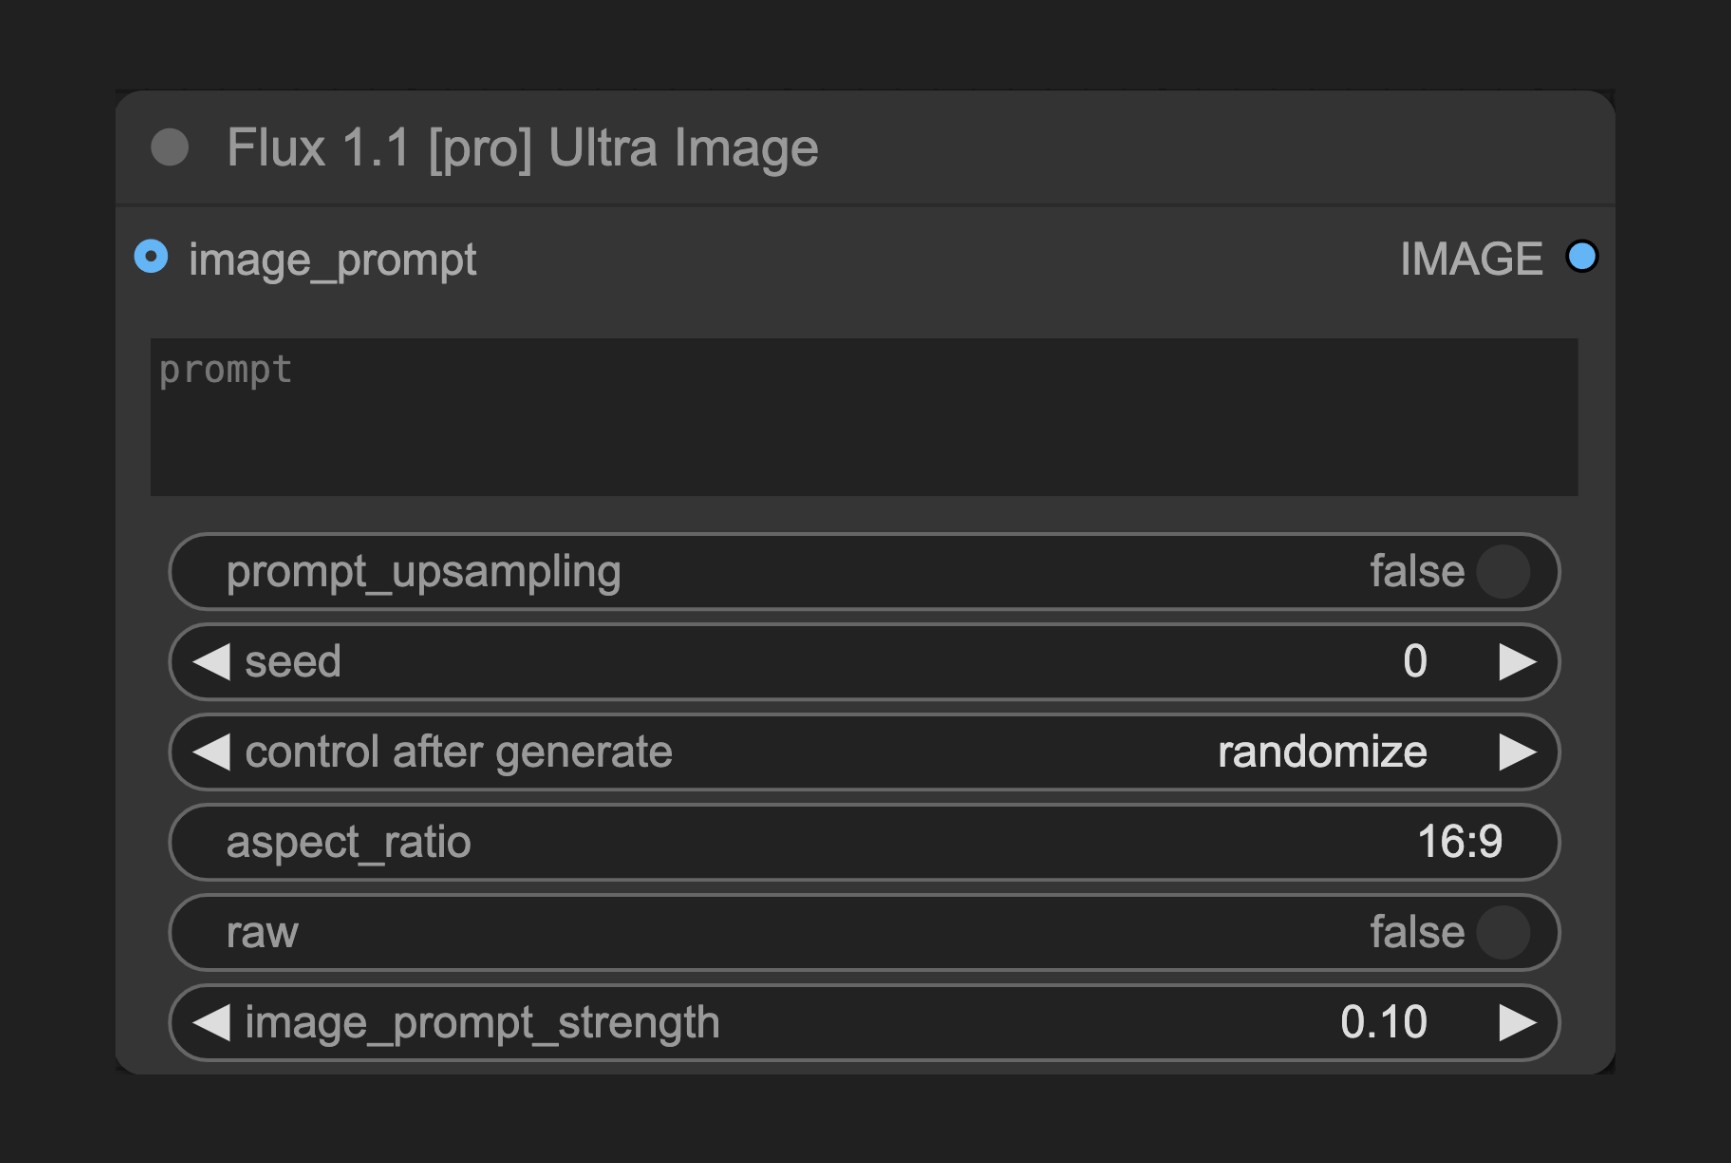
Flux 1.1 [pro] Text-to-Image Tutorial
1. Download Workflow File
Download and drag the following file into ComfyUI to load the workflow:
2. Complete the Workflow Steps
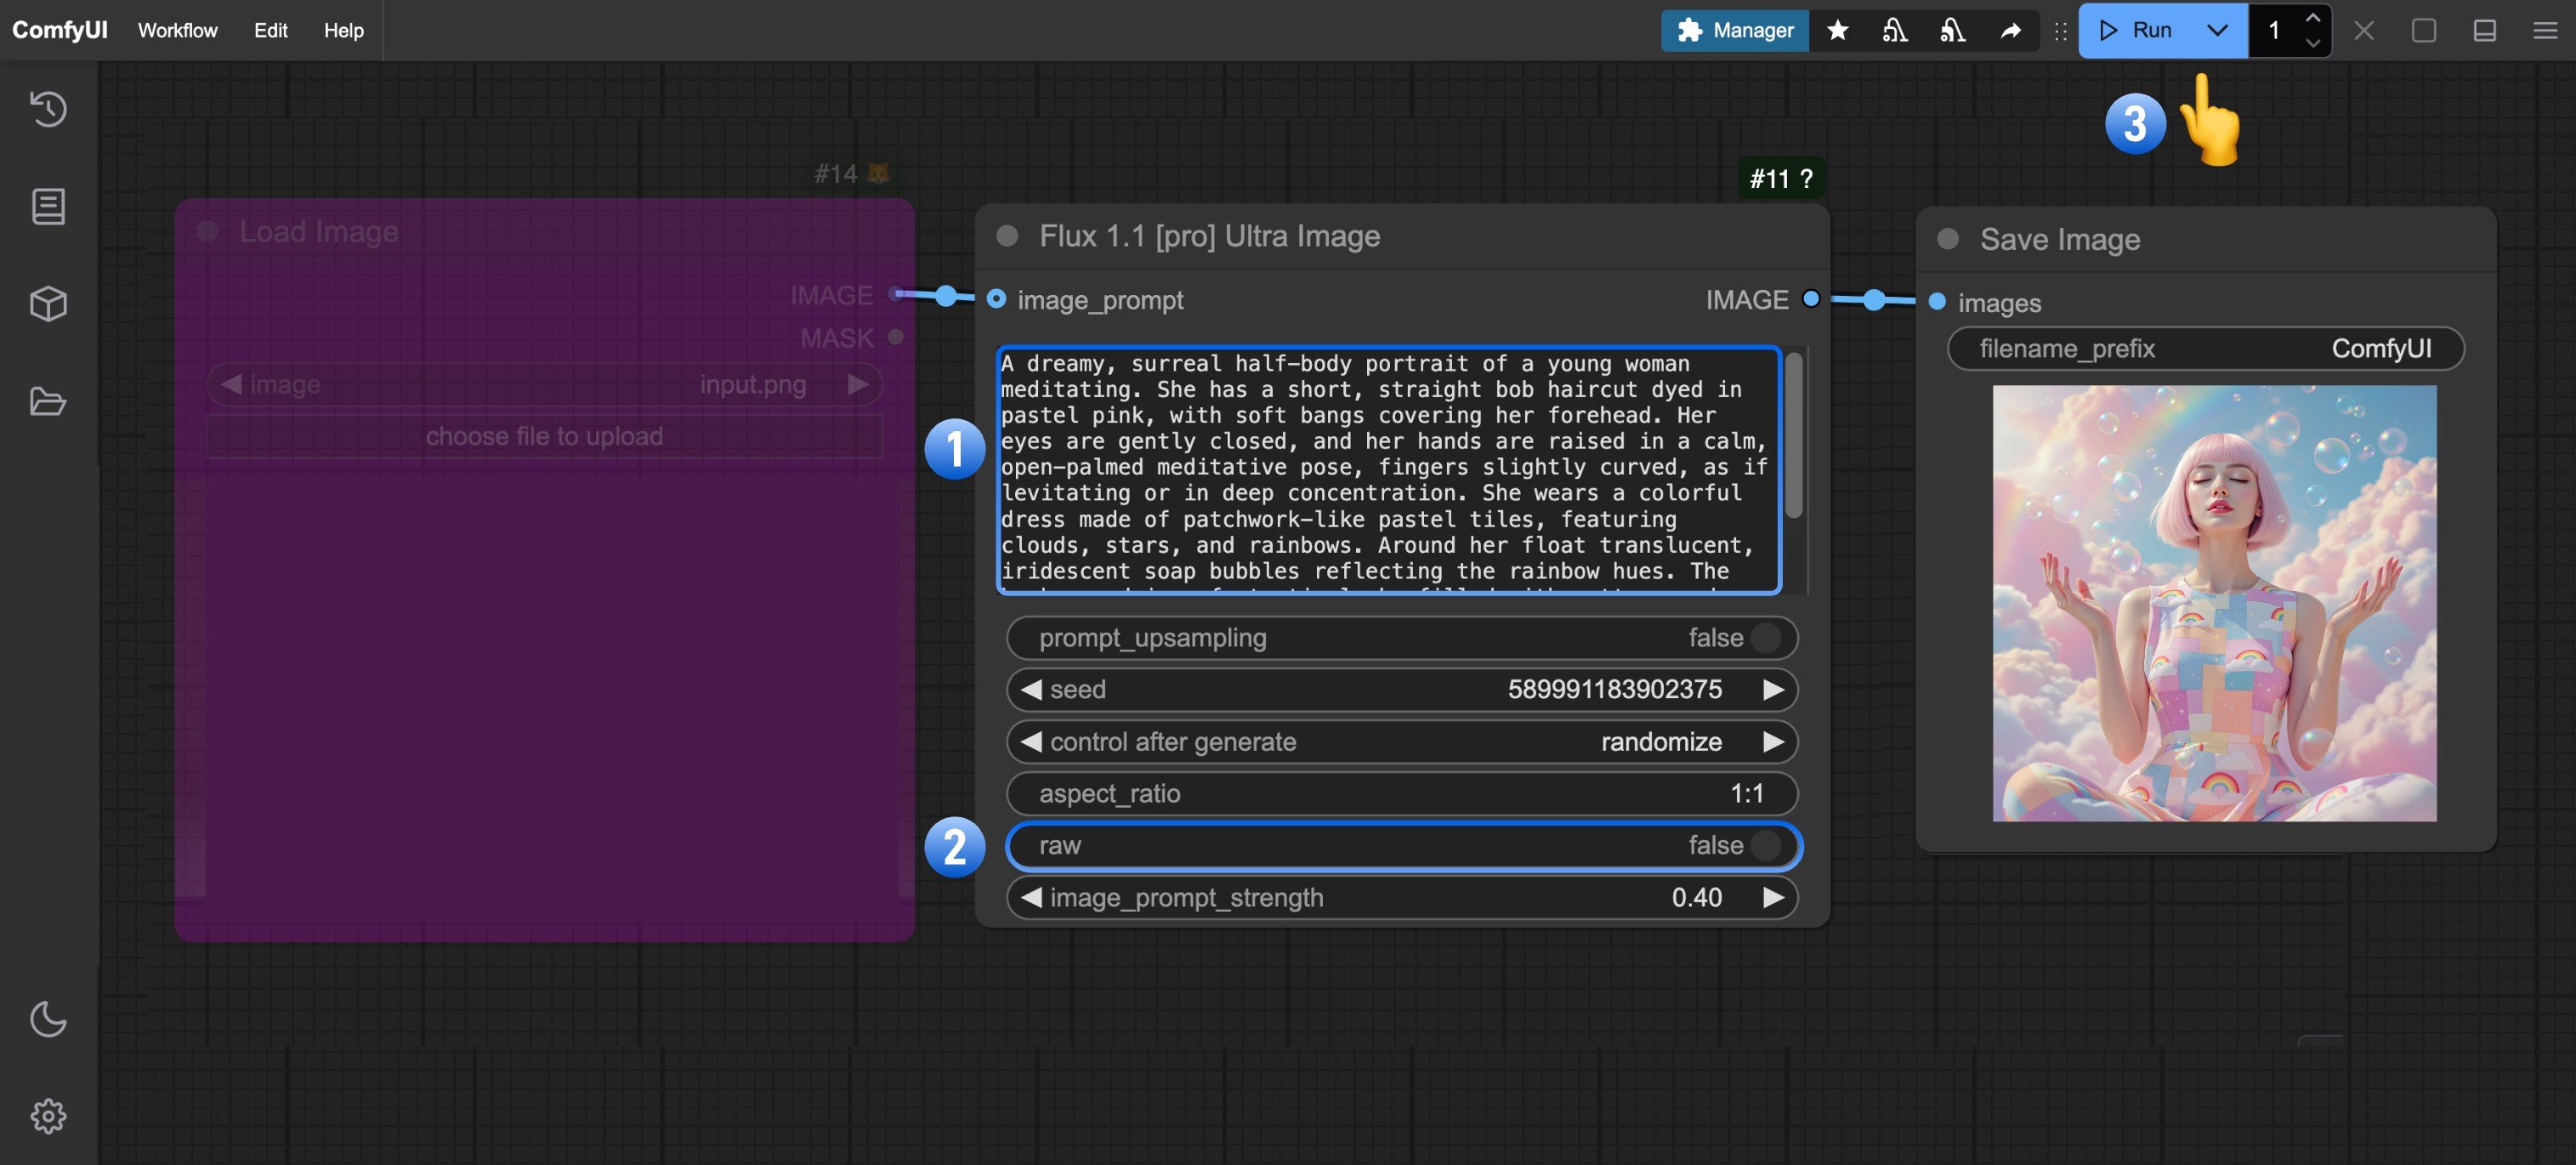
- (Optional) Modify the prompt in the
Flux 1.1 [pro] Ultra Imagenode - (Optional) Set
rawparameter tofalsefor more realistic output - Click
Runor use shortcutCtrl(cmd) + Enterto generate the image - After the API returns results, view the generated image in the
Save Imagenode. Images are saved to theComfyUI/output/directory
Flux 1.1[pro] Image-to-Image Tutorial
When adding animage_prompt to the node input, the output will blend features from the input image (Remix). The image_prompt_strength value affects the blend ratio: higher values make the output more similar to the input image.
1. Download Workflow File
Download and drag the following file into ComfyUI, or right-click the purple node in the Text-to-Image workflow and setmode to always to enable image_prompt input:
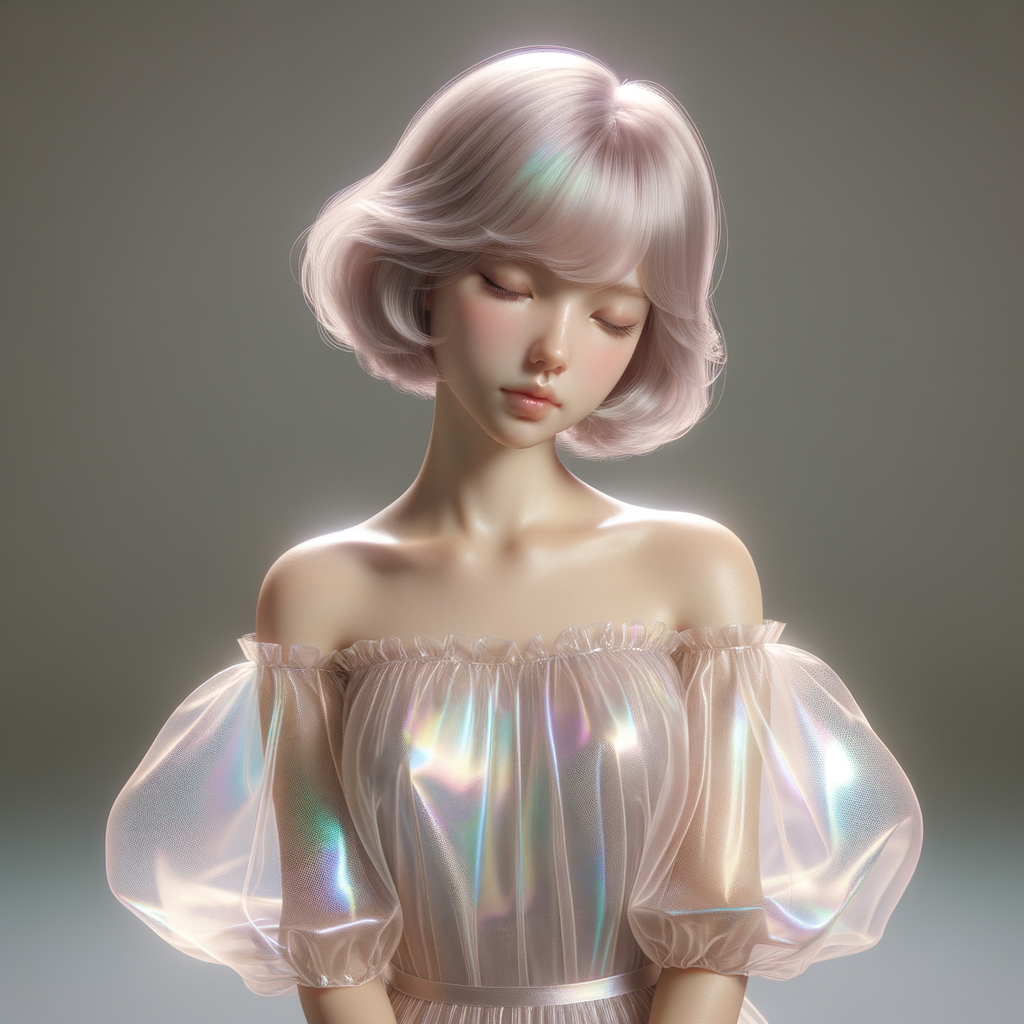
We’ll use this image as input:
2. Complete the Workflow Steps
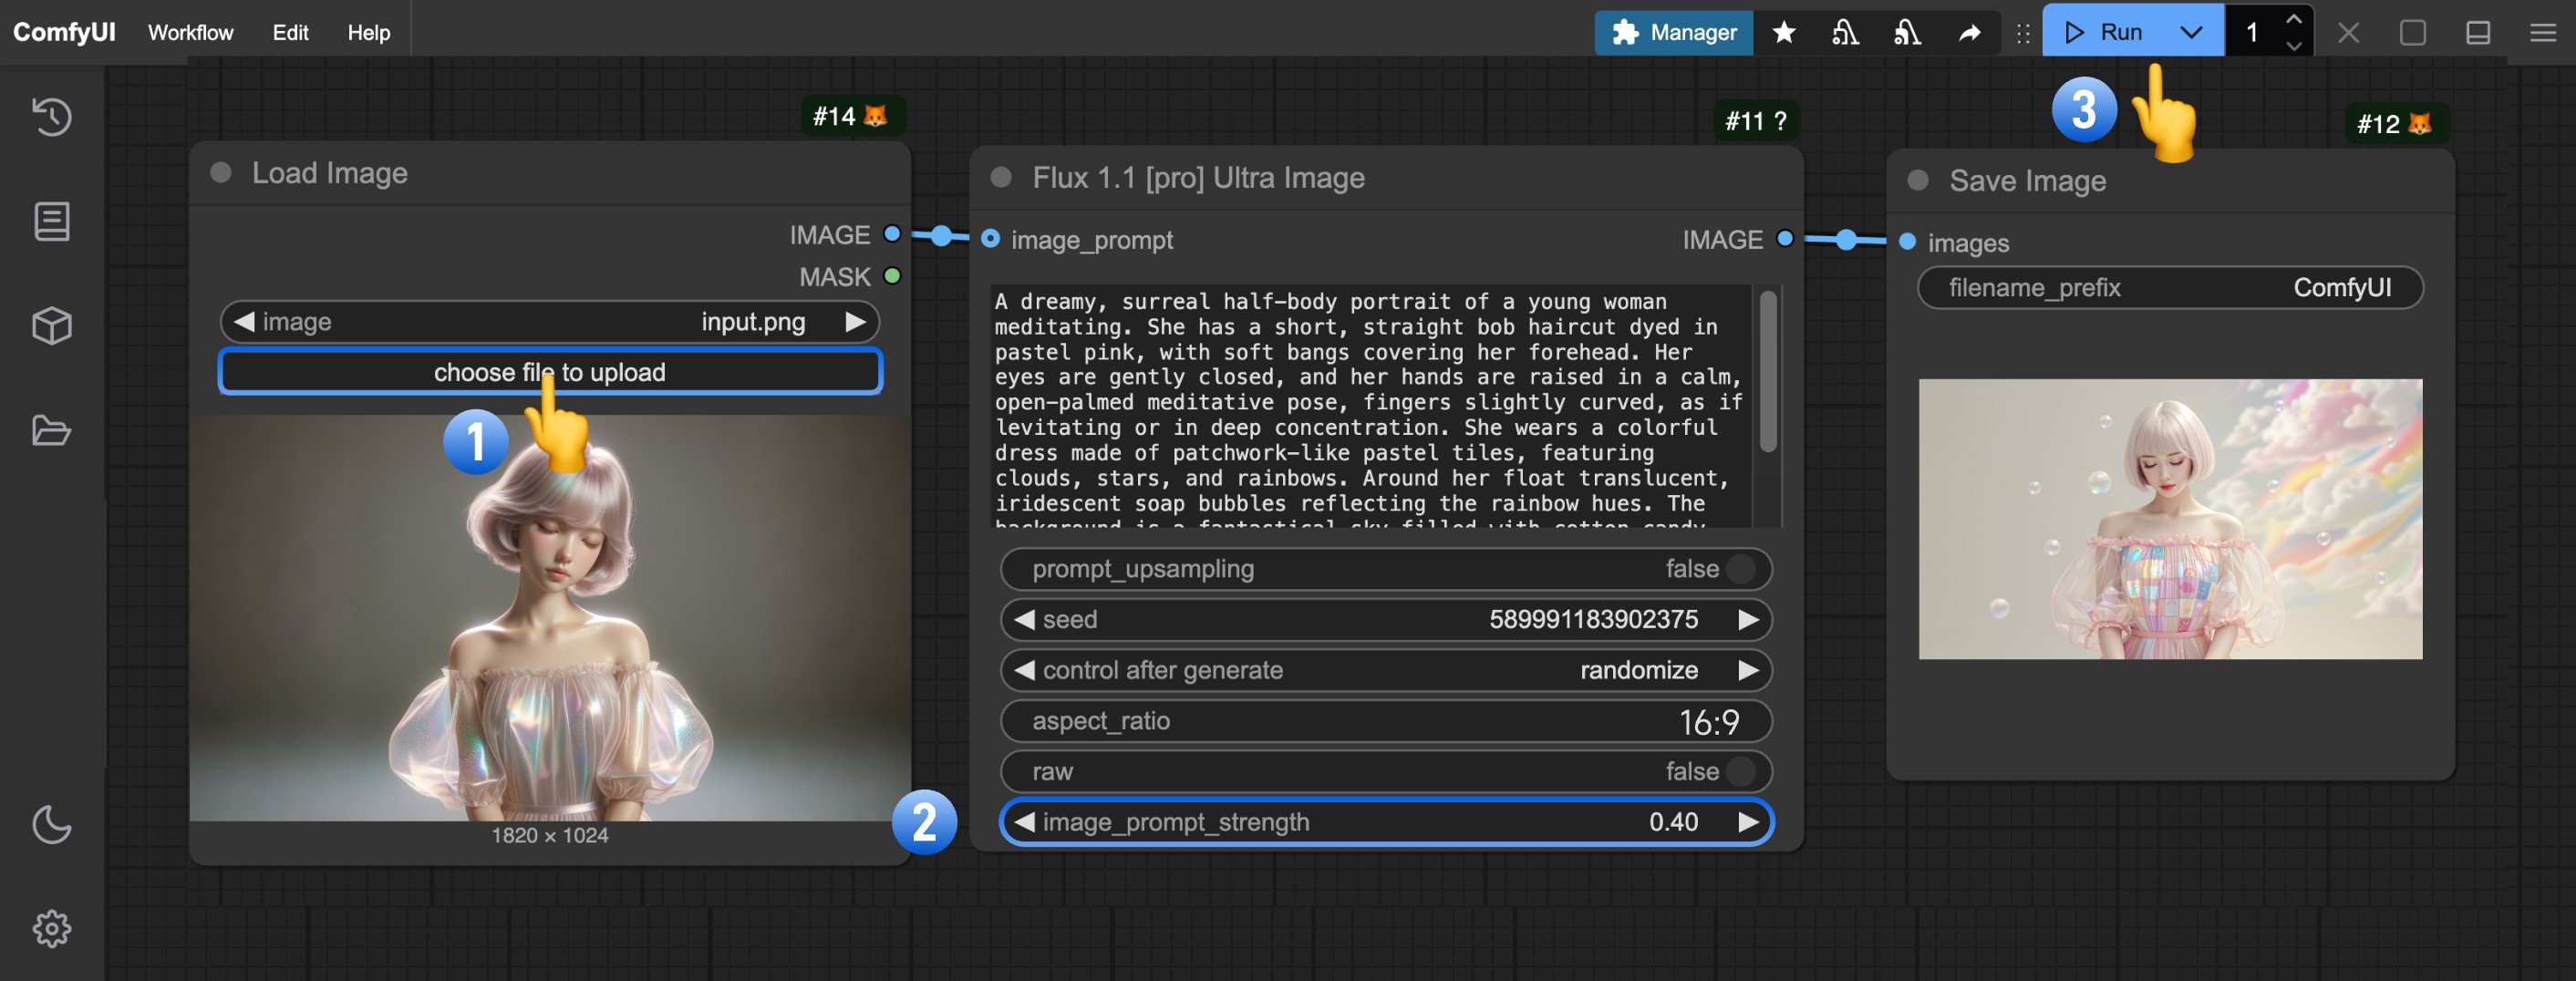
- Click Upload on the
Load Imagenode to upload your input image - (Optional) Adjust
image_prompt_strengthinFlux 1.1 [pro] Ultra Imageto change the blend ratio - Click
Runor use shortcutCtrl(cmd) + Enterto generate the image - After the API returns results, view the generated image in the
Save Imagenode. Images are saved to theComfyUI/output/directory
image_prompt_strength values: